> ## Documentation Index
> Fetch the complete documentation index at: https://docs.modelcode.ai/llms.txt
> Use this file to discover all available pages before exploring further.
# GitHub Integration
> Connect your GitHub account and manage repository access
Modelcode connects to your GitHub repositories through a **GitHub App**. This guide covers how the connection works and how to manage your repositories.
**GitHub Enterprise Server is not supported today.** Modelcode only works with
**GitHub.com** (cloud). Support for GitHub Enterprise Server (self-hosted) is
planned for **H2 2026**.
## Prerequisites
* A Modelcode account (sign up at [modelcode.ai](https://modelcode.ai))
* A GitHub account (personal or organization)
* At least one repository you want to work with
## How It Works
Modelcode uses two separate GitHub integrations:
1. **Sign-in with GitHub** — You can sign in to Modelcode using your GitHub account. This is handled through our identity provider and is used purely for authentication.
2. **GitHub App for repository access** — To access your repositories, you install the Modelcode GitHub App. This grants Modelcode read access to the repositories you select.
These are independent — signing in with GitHub does not automatically grant repository access. You must install the GitHub App separately.
## Signing In with GitHub
You can sign in to Modelcode with your GitHub account from the login page.
1. Go to [modelcode.ai](https://modelcode.ai)
2. On the login page, click **Continue with GitHub**
## Installing the GitHub App
### Step 1: Navigate to the Projects Page
1. Sign in to [modelcode.ai](https://modelcode.ai)
2. Go to the **Projects** page
3. If you haven't connected GitHub yet, you'll see a **Connect GitHub** button
### Step 2: Install the GitHub App
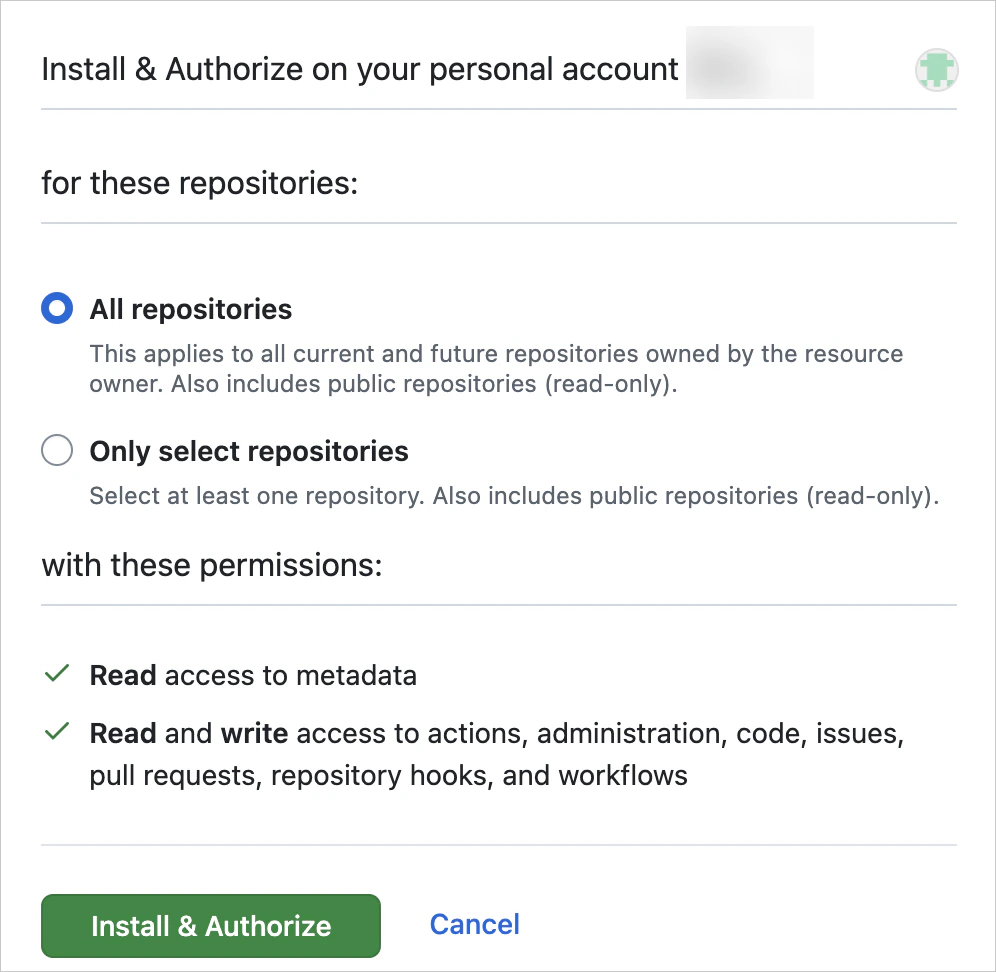
1. Click **Connect GitHub**
2. You'll be redirected to GitHub to install the Modelcode GitHub App
3. Choose which account or organization to install it on
4. Select which repositories Modelcode can access:
* **All repositories** - Grants access to every repo in your account or organization
* **Only select repositories** - Pick specific repos
We recommend selecting only the repositories you plan to work with. You can always add more later.
If you install the GitHub App on an organization, GitHub may require approval from an org owner before the installation completes.
### Step 3: Return to Modelcode
After installing the GitHub App on GitHub, you'll be redirected back to Modelcode and see a **Thank you for installing Morph!** confirmation. You can now create projects using your connected repositories.
If the redirect doesn't complete, check that your browser isn't blocking pop-ups or redirects from GitHub.
## Creating a Project with Connected Repositories
Once the GitHub App is installed:
1. Click **Create Project** on the Projects page
2. Enter a project name (auto-filled from your first repository name)
3. In the repository dropdown, select one repository
4. Confirm or change the **origin branch**
5. Set a **feature branch** name (prefixed with `morph-`)
6. Click **Create Project**
If you don't see a repository in the dropdown, click **Connect Repositories** at the bottom of the list to update your GitHub App installation and add more repos.
## Managing Repository Access
### Adding More Repositories
To grant Modelcode access to additional repositories:
1. From the **Projects** page or the **Create Project** modal, click **Connect Repositories**
2. You'll be taken to GitHub's app installation settings
3. Add the repositories you want
4. Return to Modelcode — the new repos will appear in the dropdown
Alternatively, go directly to GitHub:
1. Go to [GitHub Settings → Applications](https://github.com/settings/installations)
2. Find the **Modelcode** app
3. Click **Configure**
4. Add repositories to the selected list
### Removing Repository Access
To revoke access to specific repositories:
1. Go to [GitHub Settings → Applications](https://github.com/settings/installations)
2. Find the **Modelcode** app
3. Click **Configure**
4. Remove repositories from the selected list
### Uninstalling the GitHub App
To completely disconnect Modelcode from your GitHub account:
1. Go to [GitHub Settings → Applications](https://github.com/settings/installations)
2. Find the **Modelcode** app
3. Click **Uninstall**
Uninstalling the GitHub App does not delete any projects you've already created in Modelcode, but Modelcode will no longer be able to access your repositories.
## Troubleshooting
### "GitHub connection failed"
If the installation flow doesn't complete:
1. Ensure you're signed in to the correct GitHub account
2. Check that your browser allows redirects from github.com
3. Clear your browser cookies and try again
4. If using an organization, ensure you have permission to install GitHub Apps
### "Repository not showing up"
If you can't see a repository in the Create Project dropdown:
1. Click **Connect Repositories** in the dropdown to open your GitHub App settings
2. Verify the repository is in the selected list
3. Go to [GitHub Settings → Applications](https://github.com/settings/installations) and confirm Modelcode has access
4. Ensure the repository is included in your GitHub App installation
### "No Repositories Found"
If Modelcode says your GitHub is connected but no repositories are available:
1. Your GitHub App installation may not have any repositories selected
2. Click **Connect Repositories** to open the GitHub App configuration
3. Select the repositories you want to use
### "Insufficient permissions"
If you get a permissions error:
1. For organization repos, ensure an org admin has approved the GitHub App installation
2. Verify you have the necessary permissions on the repository in GitHub
3. Try clicking **Connect Repositories** to re-open the GitHub App configuration
### "Installation Failed" after returning from GitHub
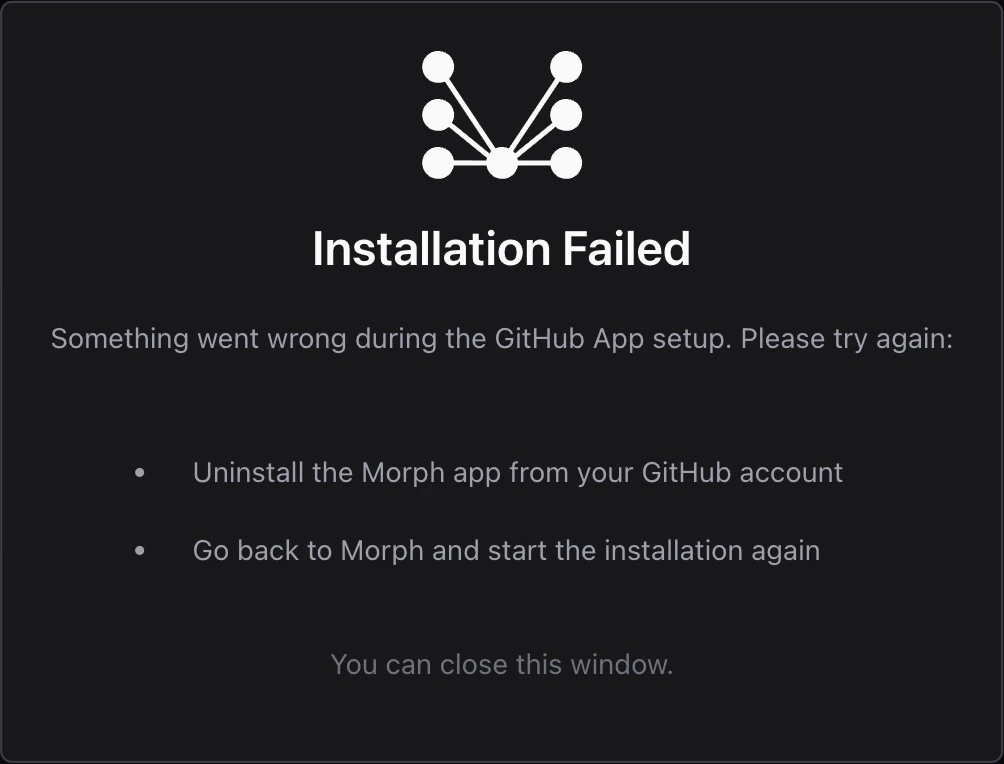
If the post-install screen shows **Installation Failed**:
1. Go to [GitHub Settings -> Applications](https://github.com/settings/installations) and uninstall the **Modelcode** app
2. Return to Modelcode and start the installation again from the **Connect GitHub** button
### "Your GitHub connection is no longer active"
If you see this banner on the Projects page, your GitHub authorization has expired or been revoked:
1. Click **Reconnect GitHub** in the banner to re-run the OAuth and GitHub App flow
2. If the banner persists, confirm the **Modelcode** app is still installed at [GitHub Settings -> Applications](https://github.com/settings/installations)
## Next Steps
* [Quickstart](/quickstart) — Create your first migration project
* [Define Modernization Goals](/setup/modernization-goals) — Write effective goals for your migration
* [Reviewing the Project Spec](/setup/reviewing-project-spec) — Learn how to review and approve your migration plan